
N
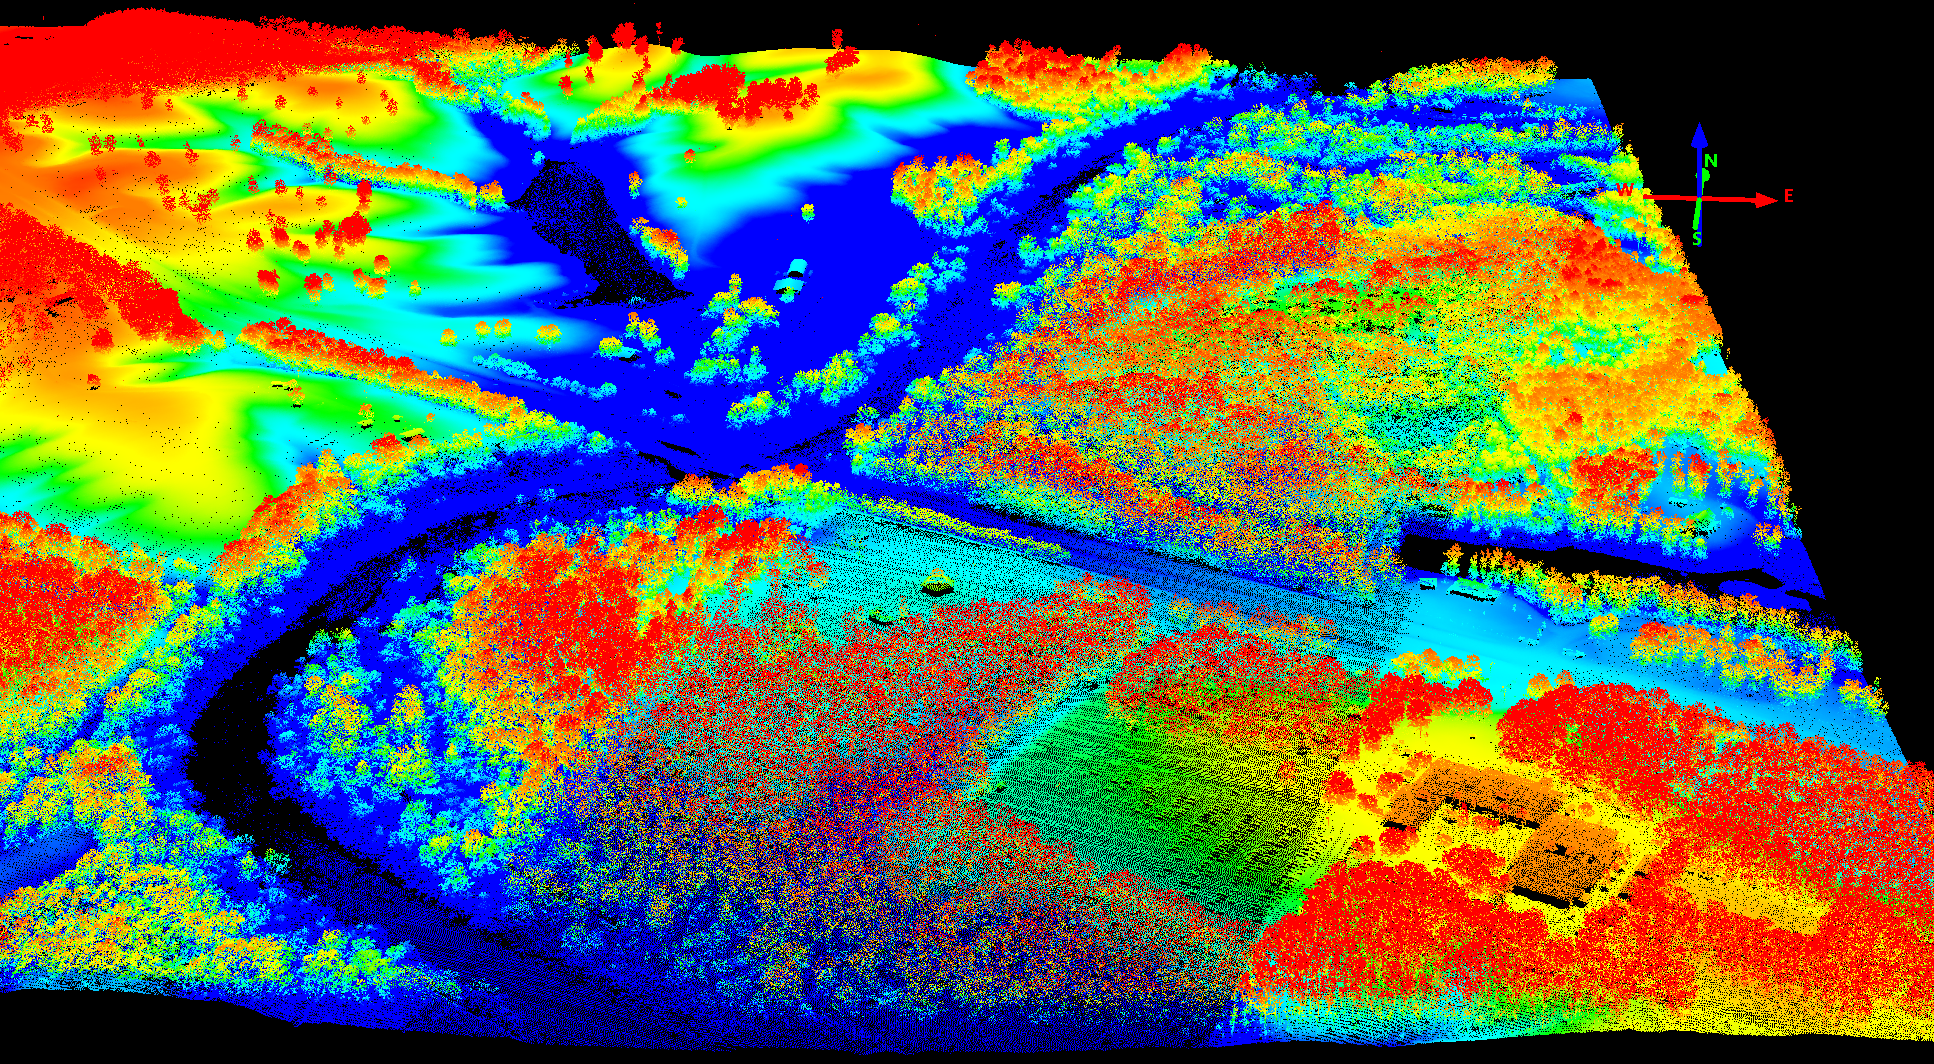
orman MacCaig’s poem, Celtic Cross, has stuck with me ever since I heard it in an advertisement by the Scottish tourist board as it maps to a number of interesting questions vis-à-vis phenomenology in archaeology and the organisation of hierarchal social and cultural spaces. Here’s it’s really referring to the process of taking abstract data—in this case point clouds taken from LiDAR surveys—and using them to produce digital elevation maps. These DEMs can then be pulled into Blender in a number of ways.
Method 1
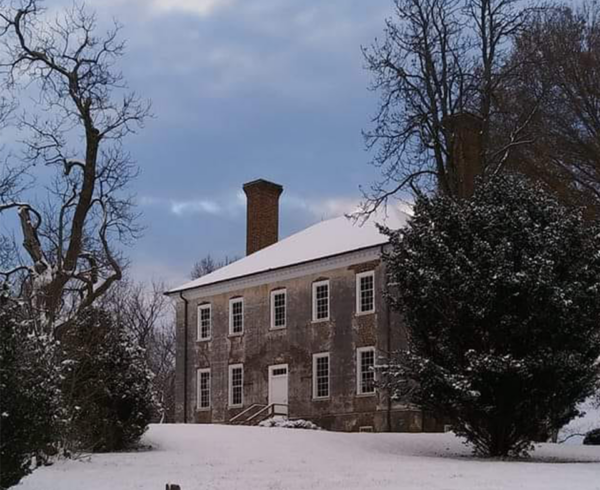
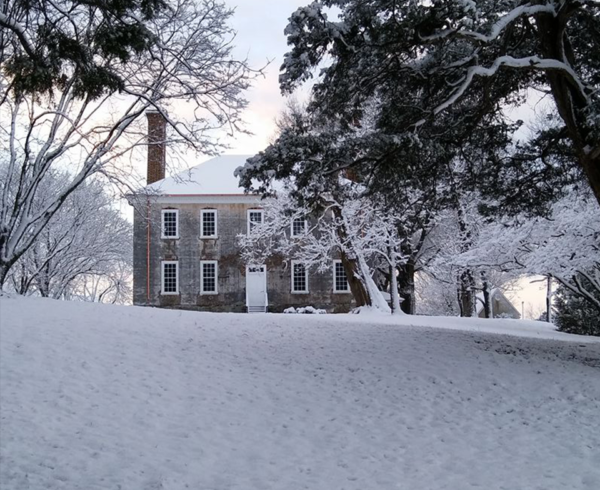
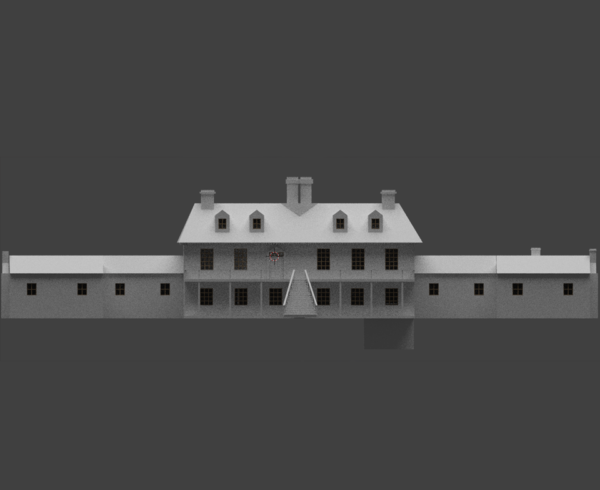
The first method was actually the easiest, and as a first experiment produced some interesting results. I am, however, concerned about the accuracy of the method as it ended up having more ‘art’ than ‘science’ behind it. Not that I have a problem with either of those, but I ended up forging ahead with this approach without any thought to my subsequent development pathway. Specifically, I ultimately want to take the reconstructed “Enchanted Castle” and place it, and other structures, into the Unity game engine so that it can be explored on the web or through VR.
The method is well-documented, such as this (excellent) Youtube tutorial, but the overall design intent is different: rather than producing accurate terrains for a digital reconstruction, the modeller focuses on getting “cool landscapes” for graphic art, video games etc. You can watch the video, of course, but the general steps are:
- Acquire a geoTIFF of the area, which in my case was filtered LiDAR data of several data tiles patched together. There were some oddities in the data set that required fixing the coordinate system between QGIS and ArcGIS (handled by someone else, thankfully).
- In Blender, create a plane and apply the subdivision modifiers and then the displacement modifiers, with the later using your geoTIFF as the reference image.
- Decrease the strength of the displacement modifier until the landscape looks kind of right. (This makes the scientist in me shudder.)
- Import the terrain into the “Enchanted Castle” file, rotate, and scale so that the structure fits roughly in the excavation footprint (as determined from the LiDAR data).
It looks good, and is probably good enough, but… is it right? To that end, I’m going to drop into Method 2. The method is going to be much the same, just with a different data set. Plus, I get to work with point clouds, and they are seriously cool. (In every archaeologist there is a poorly-hidden cartography fan.)
Method 2
LiDAR point cloud of the Germanna area.
The second method utilises LiDAR data from the USGS. On first blush, this had a number of advantages in that the data tile was a regular square and covered the area I needed, it was a manageable size, and it included all the data from the original scan: it wasn’t filtered to just the land surface. This will be useful later on.
Really, though, it’s not the method of getting the information into Blender rather than having a workflow that incorporates the data in ways that are informed by what you want to do with them. And here we can turn to the excellent tutorial by Jacob Scott of Heritage 4D, here.
Other than an additional step, the method is broadly the same with a couple of exceptions. First, Scott is taking the filtered LiDAR data into Unity, and, second, he’s filtering the data himself using ArcGIS. Unity has slightly less, uhm, “artistic” method of controlling the strength of the height map than Blender, but really it’s the same as Method 1.
Crunching the LiDAR data in ArcMap 10.5.1.
The differences are in the approach. First, the scale is more controlled without having to patch together different LiDAR data tiles. This will make it easier on the Blender side by controlling the size of the plane and, therefore, linking it to the scale of the “Enchanted Castle.” Secondly, cutting this file down to something slightly more manageable will be easier with that known scale.
Of course, this could have been done with the first approach, too, but I worry about the different data sources and that coordinate system error. Lesson learned, though?